Surfaces Prepared Before a Drop of Paint Is Applied
Exterior painting in Choctaw for siding, trim, and fascia showing faded, cracked, or peeling finish
Exterior paint does not fail at the surface—it fails at the bond between the paint film and the substrate beneath it. Gray Feather Roofing paints residential and commercial exteriors in Choctaw, including siding, trim, fascia, and the detail work around windows, doors, and roof edges where multiple materials meet. The homes and commercial buildings in the Choctaw area include a mix of wood-sided properties from earlier decades and vinyl or fiber cement-sided construction from the 1990s and 2000s, and each surface type has a different failure pattern and a different prep requirement before new coating goes on.
Surface preparation is where most of the work time goes: pressure washing removes surface contamination, scraping and sanding take off paint that has already lost adhesion, and caulking fills gaps at trim joints and around penetrations before primer is applied. Skipping or shortcutting any of those steps means the new finish coat bonds to a compromised surface and will peel at the same locations within a season or two. Primer selection depends on the substrate—bare wood, previously painted wood, and fiber cement each require a primer formulated for that surface to establish the adhesion the finish coat depends on.
Set up a surface evaluation with Gray Feather Roofing to determine what prep is required and which coating grade fits the substrate condition and exposure of your property.
What Changes After the Exterior Coating Is Finished
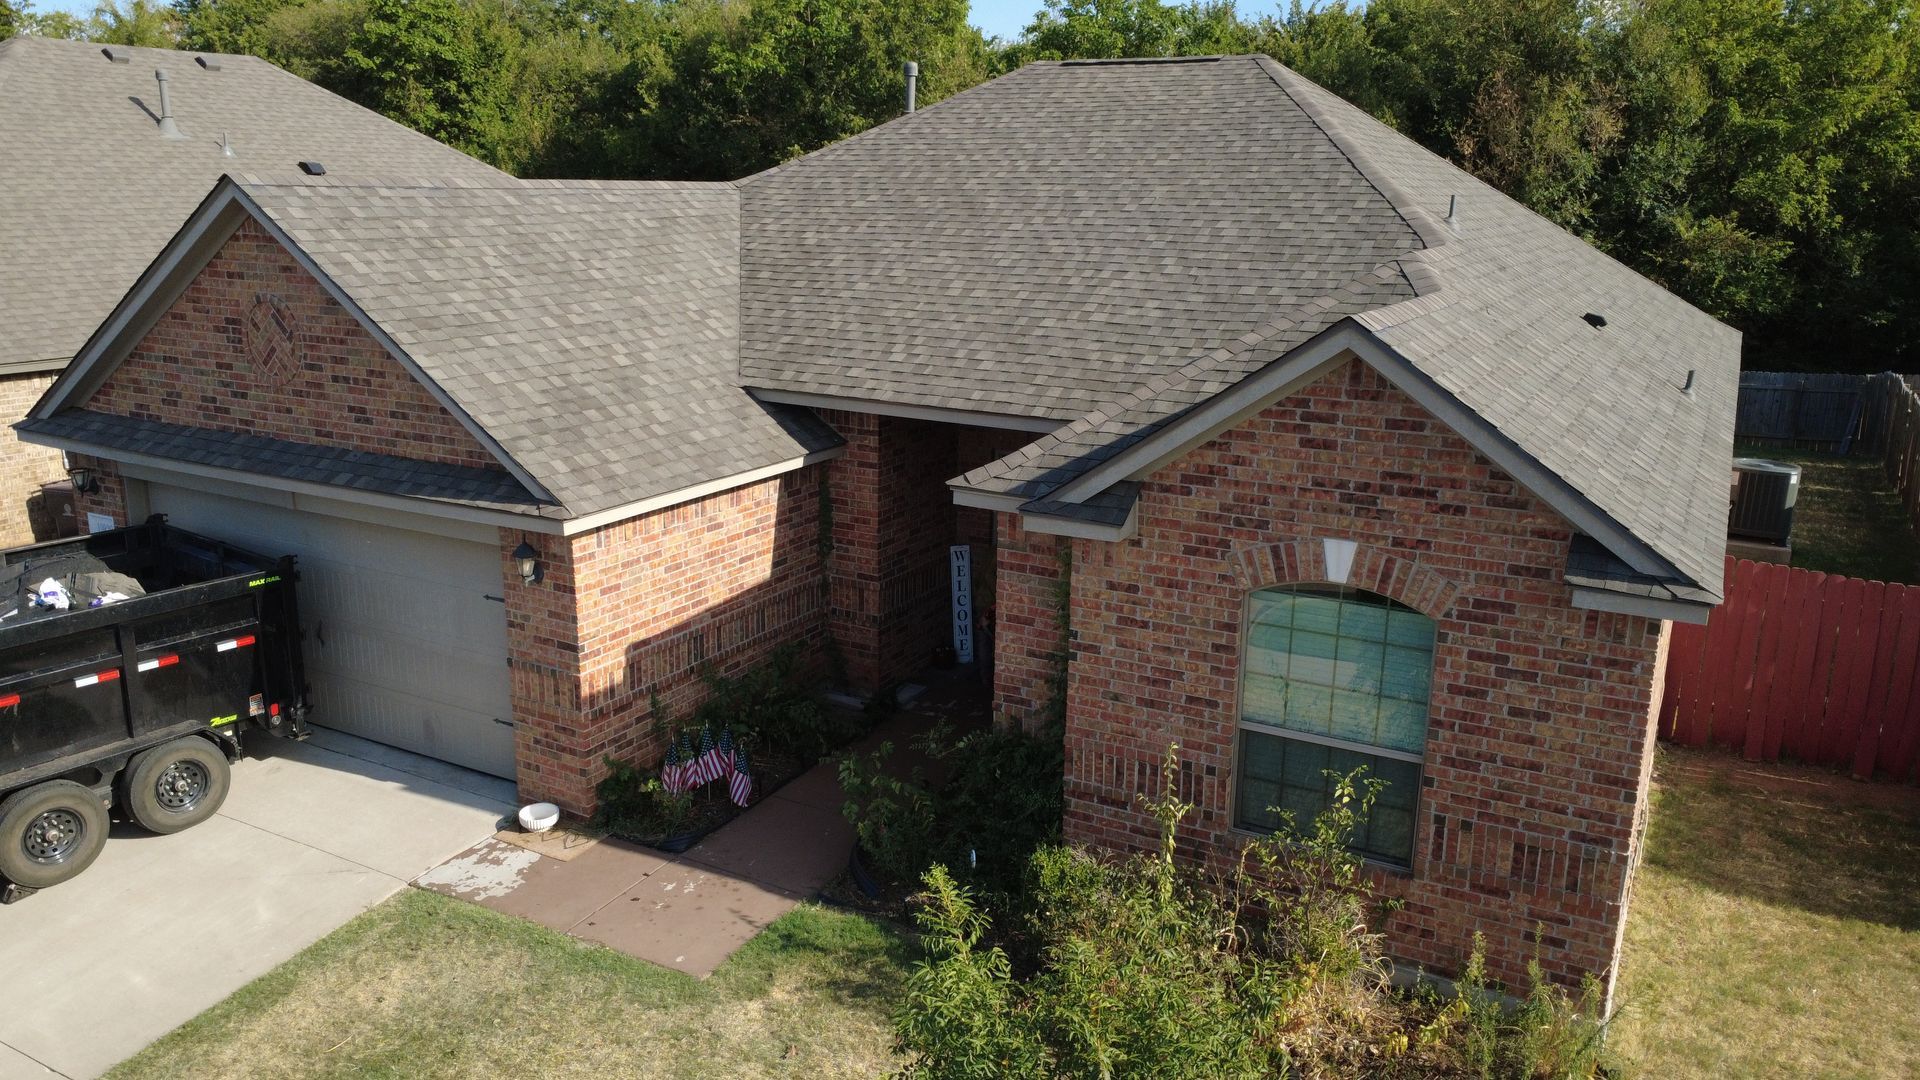
The prep sequence Gray Feather Roofing follows—pressure wash, scrape, caulk, prime, finish coat—produces a surface where the paint film is bonded to solid substrate rather than sitting on top of deteriorated material. Trim and fascia joints that were open to moisture infiltration are sealed with caulk before paint goes on, which protects the wood behind them from the water entry that causes the swelling and rot that eventually makes trim replacement necessary. Finish coat application includes detail work at roof edges where fascia meets soffit, and at window and door surrounds where trim pieces intersect at angles that collect water if the joint is left open.
When the work is complete, the exterior reads as a single finished system—color is consistent across field and trim, caulk lines are clean at joints, and areas that previously showed chalking, cracking, or paint separation are covered by a film that is bonded to sound substrate. Siding surfaces that were showing UV-faded or oxidized finish now have a consistent sheen across the run, and trim elements that looked disconnected from the body color are unified in the completed scheme.
Coating grade selection is a decision that affects how long the finish holds before requiring maintenance. Higher-solids acrylic latex formulations hold color and sheen longer on south and west exposures where UV load is highest, which matters on properties where one elevation fades noticeably faster than the others. Customer-selected colors are matched to the chosen grade before application begins, and trim colors are confirmed against the field color in daylight conditions before the finish coats go on.
Common Questions About Exterior Painting Work
These questions reflect what property owners typically want to understand about how exterior painting work is sequenced and what the preparation process involves.
Why does surface preparation take more time than the actual painting?
Failed paint, surface contamination, and open joints must be addressed before new coating is applied—any of those conditions left in place will cause the new paint to fail at the same location, sometimes faster than the previous coat because the underlying surface has continued to deteriorate underneath.
How is primer selected for different exterior surfaces?
Bare or stripped wood requires a penetrating alkyd or shellac-based primer that seals the wood grain before topcoat; fiber cement siding requires a water-based primer specifically formulated for that substrate because standard oil-based primers can cause adhesion failure on the dense, low-porosity surface.
What happens at trim joints and penetrations during prep?
Gaps at window surrounds, door casings, and trim-to-siding intersections are caulked with paintable urethane or acrylic sealant before primer goes on; those joints are where water enters and causes swelling and rot in wood trim, so sealing them is part of the protective scope of the work, not just cosmetic.
How does fascia painting connect to the rest of the roofline?
Fascia boards sit directly behind the gutter and below the soffit, so any paint failure on the fascia face allows moisture to enter the wood; on homes where the soffit or gutter system has been repaired, the fascia is repainted as part of restoring the full roofline finish rather than leaving bare or mismatched wood exposed.
What indicates that exterior paint work was done correctly once it is finished?
Edges at trim, windows, and roof lines should be clean and straight without brush marks bleeding onto adjacent surfaces, caulk lines at joints should be smooth and fully adhered on both sides, and the finish sheen should be consistent across each painted surface without thin spots, lap marks, or areas where the previous color shows through.
Gray Feather Roofing also provides exterior painting services in Midwest City, Del City, and Harrah. Connect with Gray Feather Roofing to schedule a surface assessment and walk through the prep requirements and coating options for your property's exterior.